Last updated: November 2025
A few business days after signing your engagement letter with BDO Canada LLP, you will receive an email inviting you to join you the BDO Client Portal. This section will guide you through how to get started in your BDO Client Portal.
Step 1:

Open the email titled Welcome to your BDO Client Portal Experience.
Step 2:
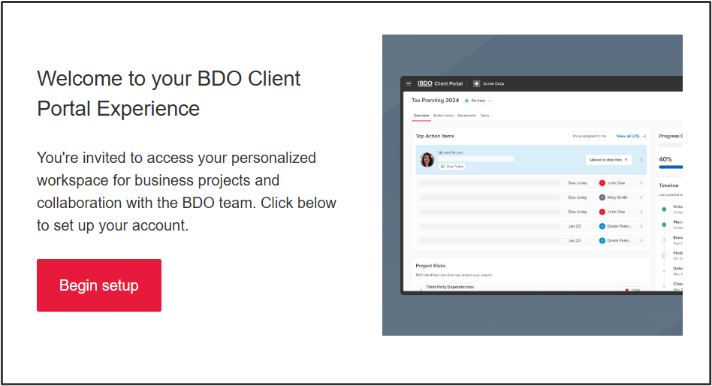
Click on Begin Setup.
Step 3:
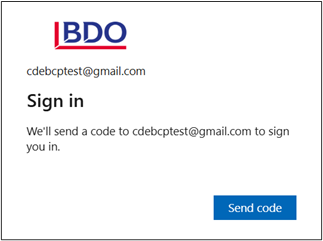
Click Send Code.
Step 4:
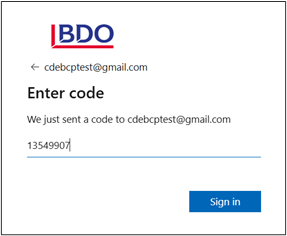
Enter the code and click Sign In.
Step 5:

Review the permissions being requested and click Accept.
Step 6:
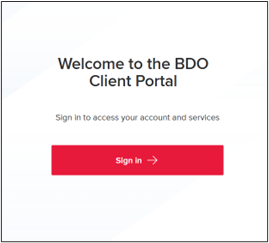
Click Sign In.
Step 7:
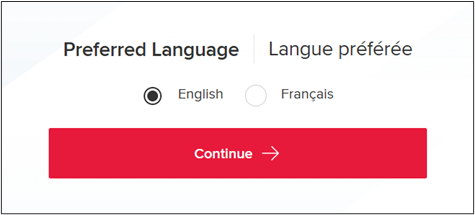
Select your preferred language and click Continue. You can change this later in settings.
Step 8:

Review the Terms of Use. You must scroll through to the end.
Click I agree.
You also have the option to download the Terms of Use for your records.
Step 9:
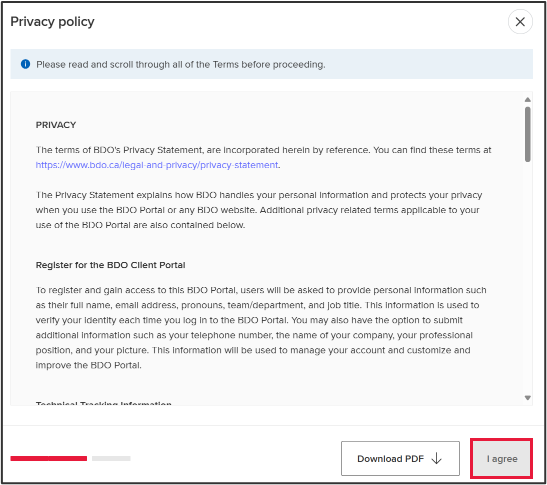
Review the Privacy Policy. You must scroll through to the end.
Click I agree.
You also have the option to download the Privacy Policy for your records.
Step 10:
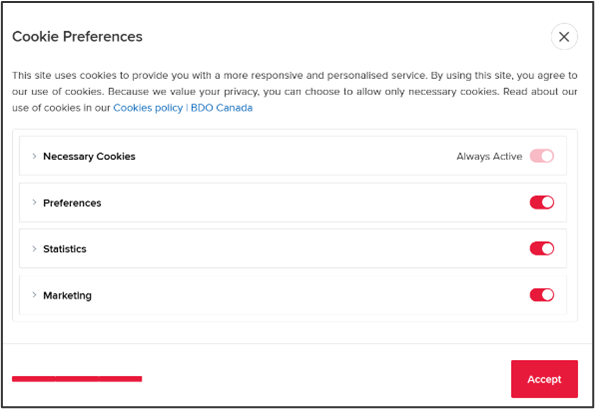
Select your Cookie Preferences.
Click Agree.
Step 11:
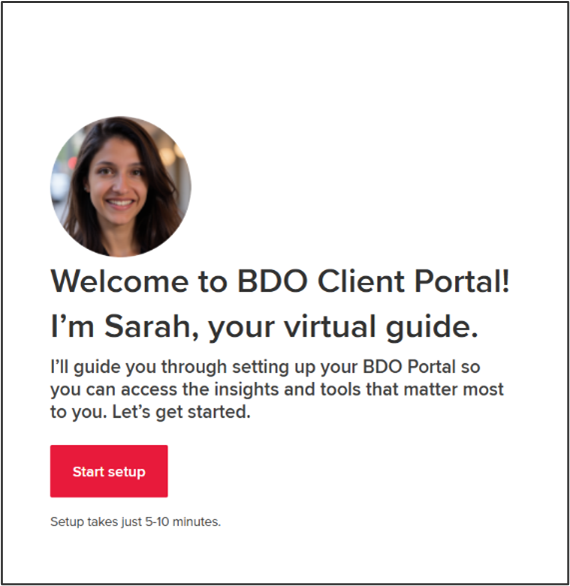
Click Start Setup.
Step 12:
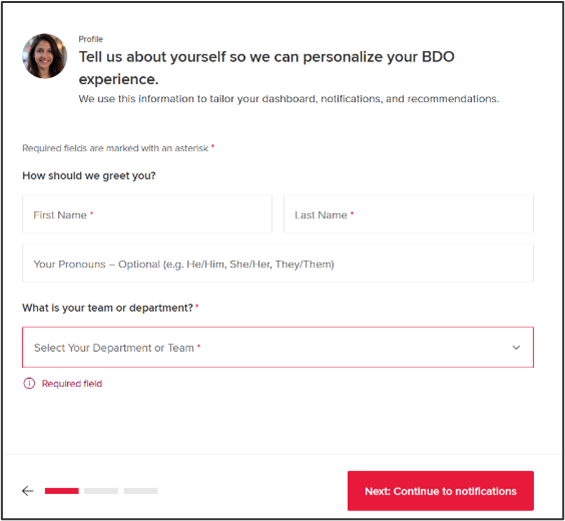
Enter the required fields (marked with a red asterisk*) for your profile.
You can change this later in settings.
Click Next: Continue to notifications.
Step 13:
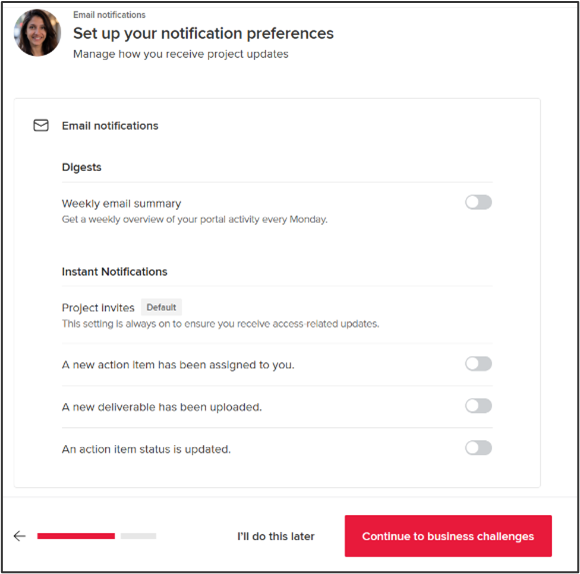
Select your Notification Preferences.
You can change this later in settings.
Click: Continue to business challenges.
Step 14:
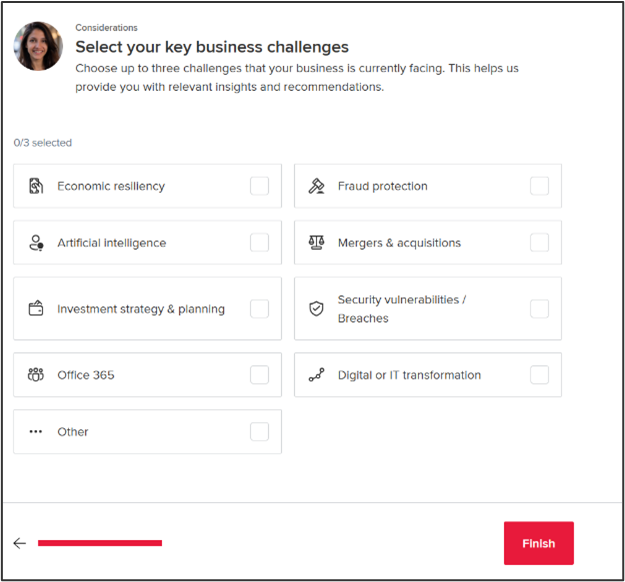
Select your top three (3) business challenges.
You can change this later in settings.
Click Finish.
Step 15:
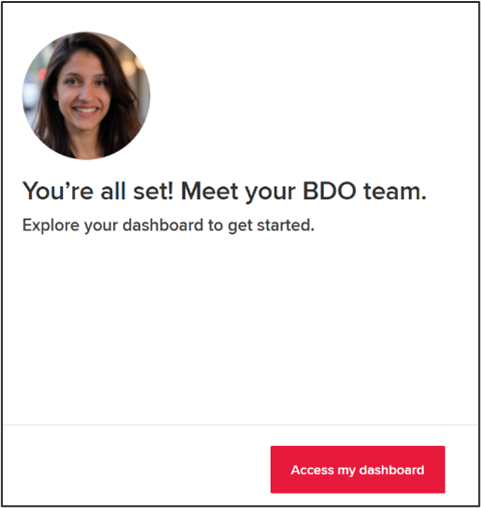
Click Access my dashboard.
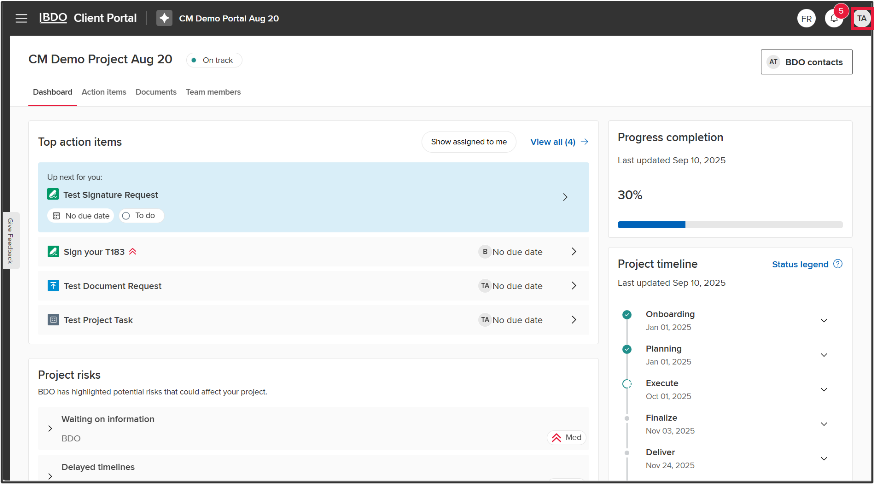
The first page you will land on in your BDO Client Portal is the Dashboard. This page will provide key information about your project in a single view.
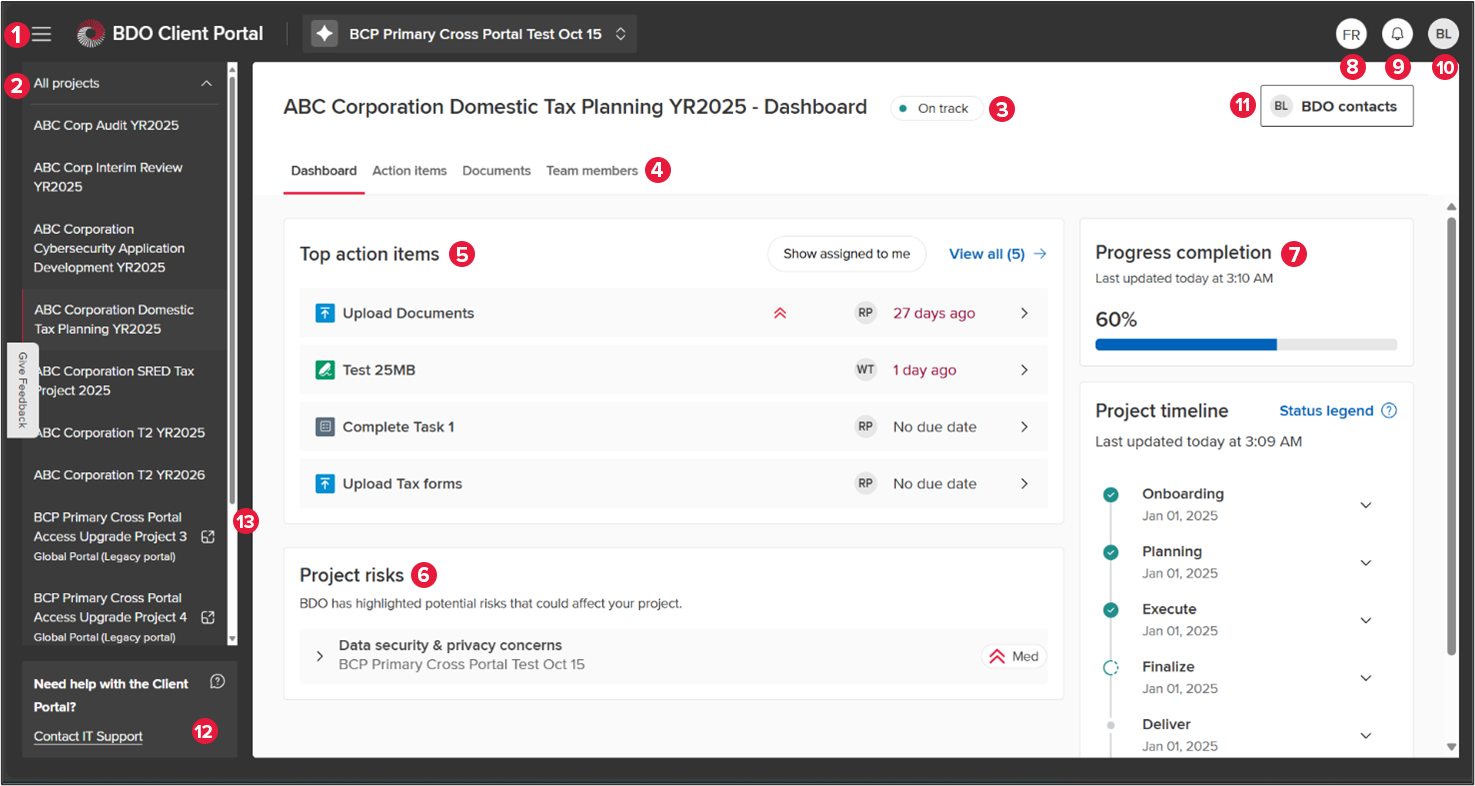
- Project tray toggle – use this to show or hide the side menu.
- Project tray – displays all active projects that you have access to. Select the project you would like to view or select All projects to view a progress dashboard for all current engagements.
- Project Health – shows the overall status of your engagement. The project health can be: On track, Needs attention or At risk.
- Page Toggles – click the page that you would like to view.
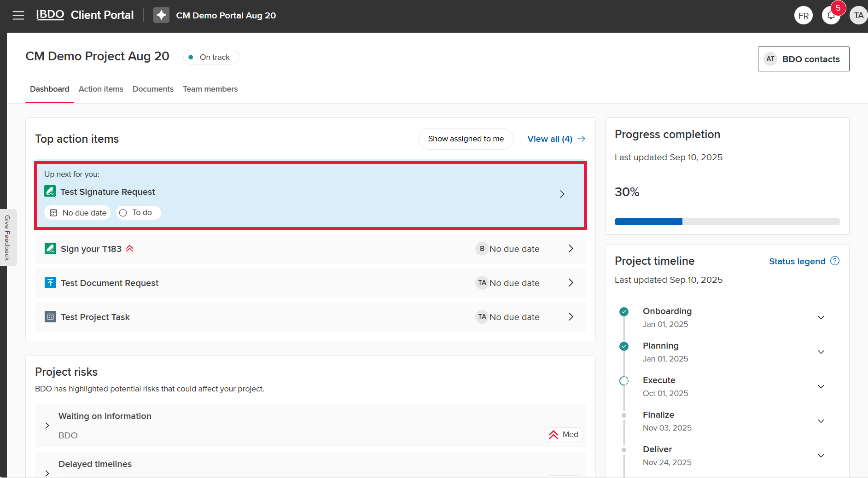
- Top Action Items – this widget displays the top 5 actions to be completed in order of due date.
- Project Risks – in this section you will see the risks that have been identified as potentially impacting your engagement.
- Progress Completion and Project Timeline – this widget shows the estimated completion of your engagement at the top, followed by a timeline below.
- Language toggle – use this button to quickly switch between English and French.
- Notifications – use this button to view all in-app notifications.
- Profile Badge – this badge will display your initials. Click this badge to access your user settings.
- BDO Contacts – use this to display the contact information of the BDO Partner managing your engagement.
- Questions or need support? – use this email to contact our technical support team for the BDO Client Portal.
- Cross-Portal Navigation – easily navigate between portals in the BDO Client Portal and the BDO Global Portal.
Step 1:
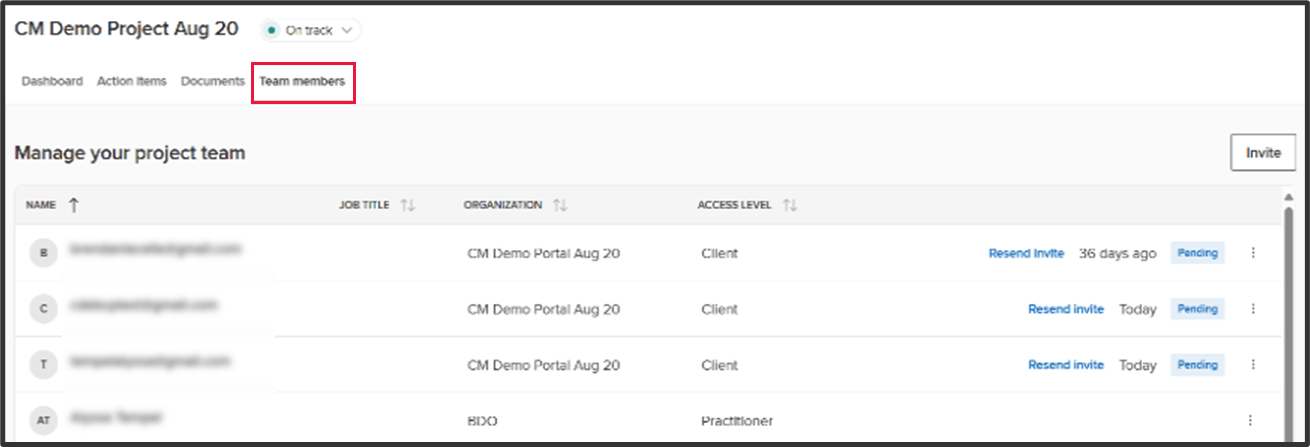
From the Dashboard, click on Team Members.
Step 2:

Click on the Invite button.
Step 3:
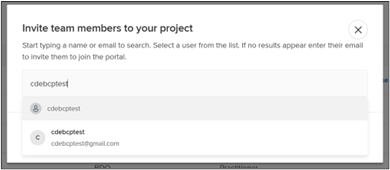
Start typing the or email of the person you want to add.
Step 4:
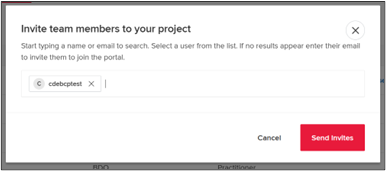
Click Send Invites.
Step 1:
From any screen, click on your Profile Badge.
Step 2:
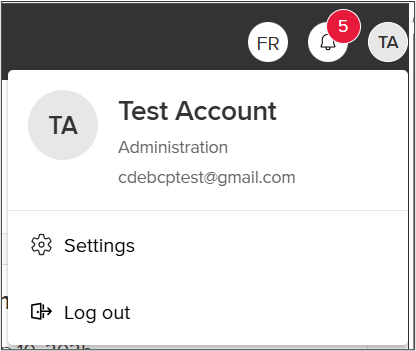
Click on Settings.
Step 3:
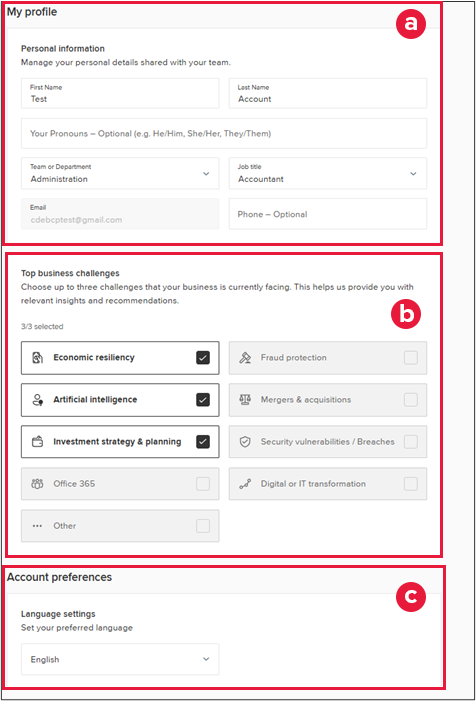
To update your profile, use the following sections:
- Use this section to update your personal information
- Use this section to change your business challenges
- Use this section to change your language settings
Step 4:
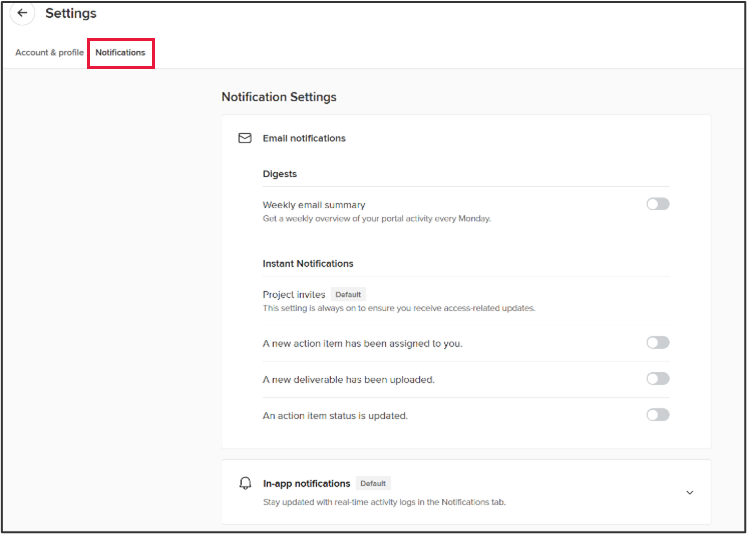
Click Notifications to change your email notification settings.
Use this section to update your email notification settings.
Complete a Document Request
Step 1:
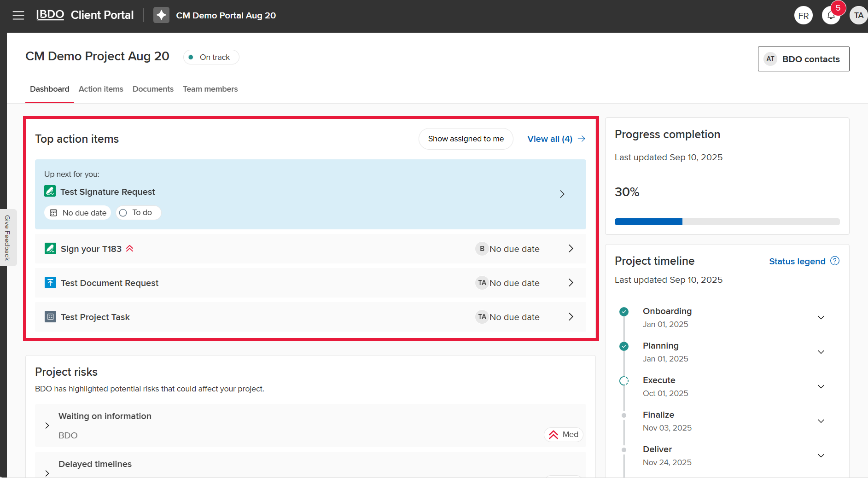
From the Dashboard, navigate to the Top action items or to the Action Items tab.
Step 2:
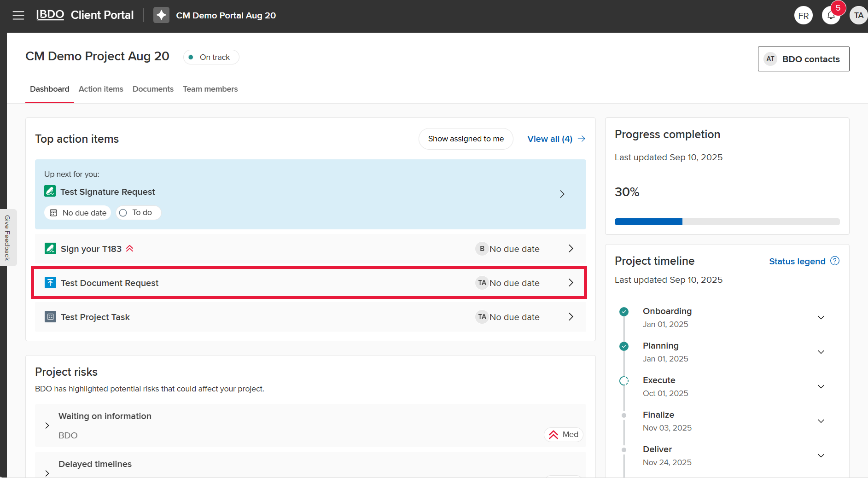
Click on the document request you would like to complete.
Step 3:
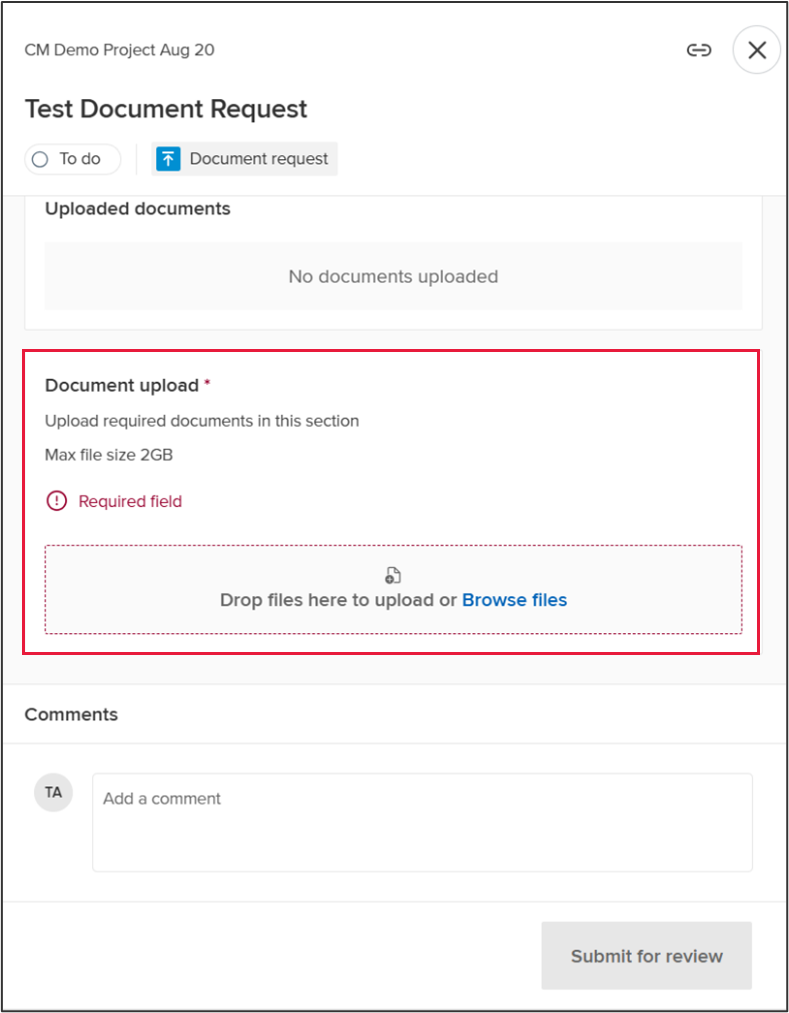
Drop a file in the Document upload section or click on Browse files. The file explorer window will pop-up. Select the file(s) you would like to upload.
Step 4:
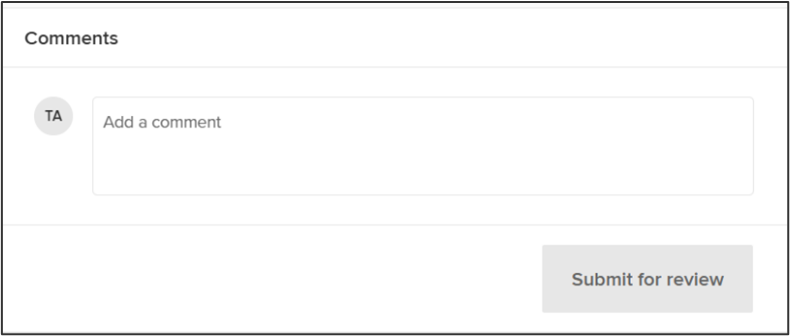
Click Submit for review.
Complete a Signature Request
Step 1:

From the Dashboard, navigate to the Top action items or to the Action Items tab.
Step 2:
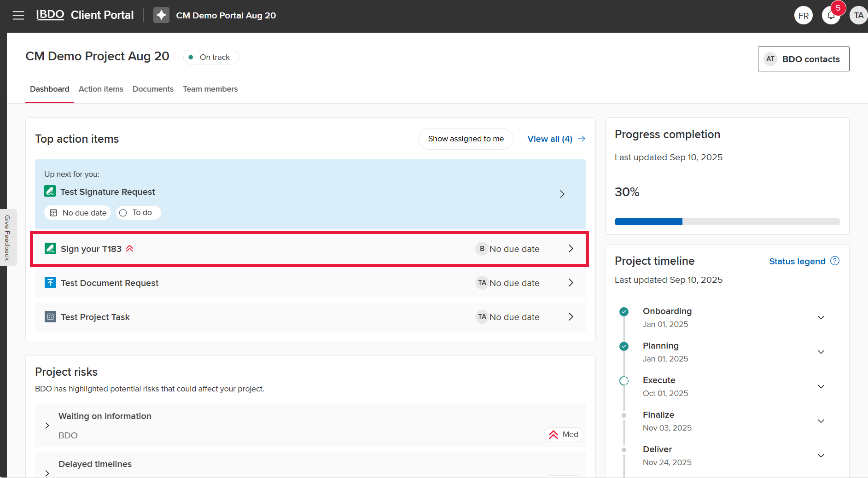
Click on the signature request you would like to complete.
Step 3:
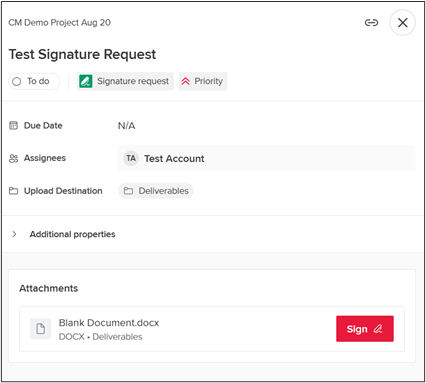
Click Sign. This will open Docusign.
Step 4:
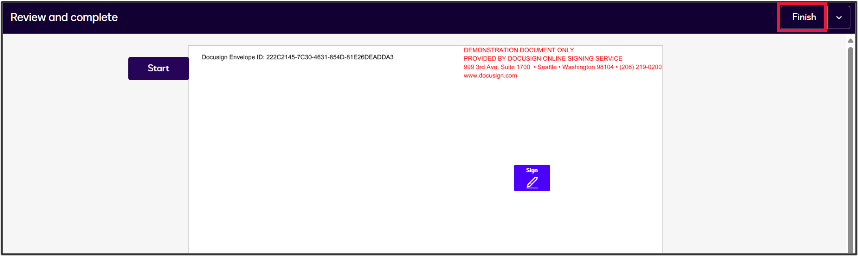
Sign the document and then click Finish.
Complete a Project Task
Step 1:

From the Dashboard, navigate to the Top action items or to the Action Items tab.
Step 2:
Click on the project task you would like to complete.
Step 3:
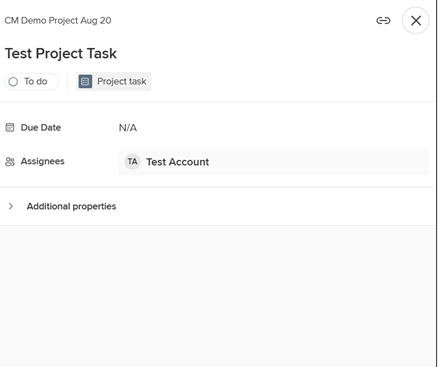
Review the details of the Project task.
Step 4:
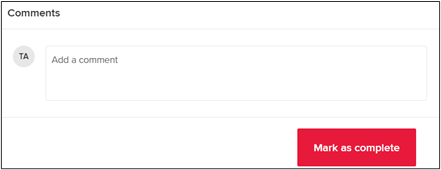
Click Mark as complete.
Upload Files
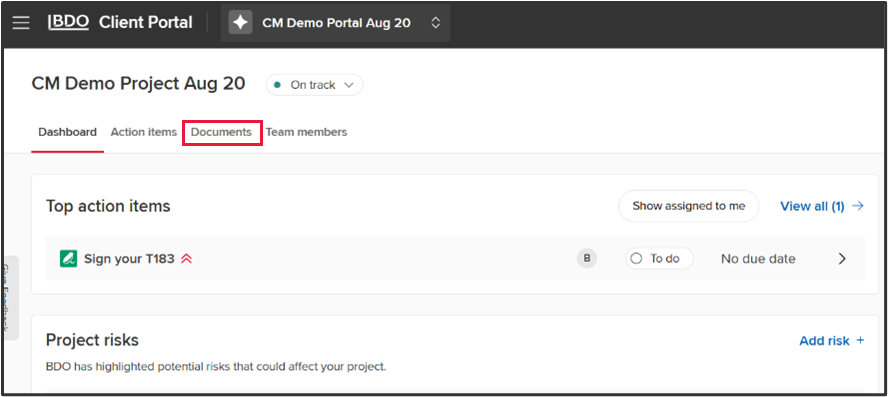
Step 1:
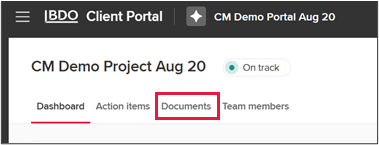
From the Dashboard, click on Documents.
Step 2:
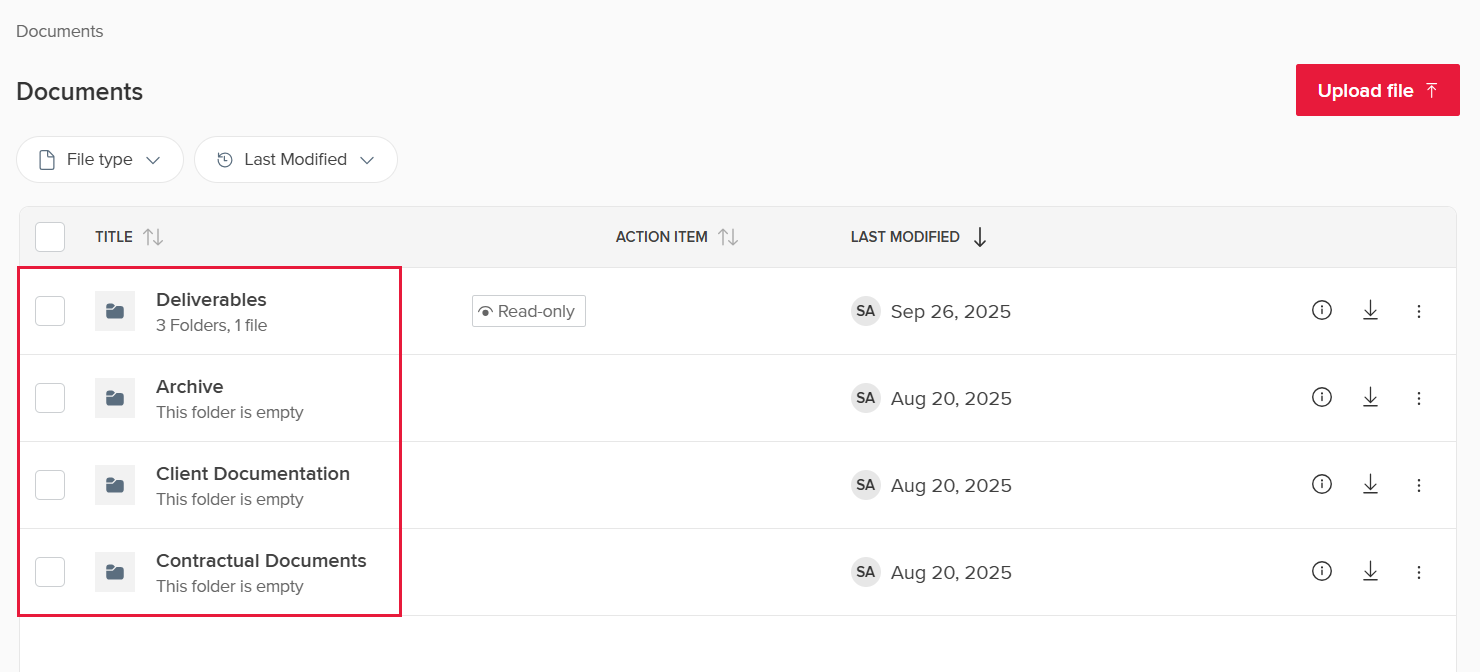
Navigate to the folder you would like to upload files to.
Step 3:
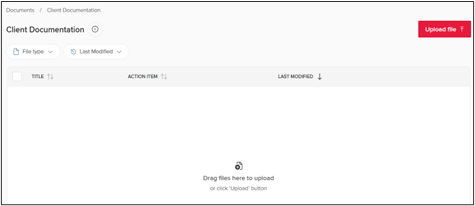
Click Upload file.
Step 4:
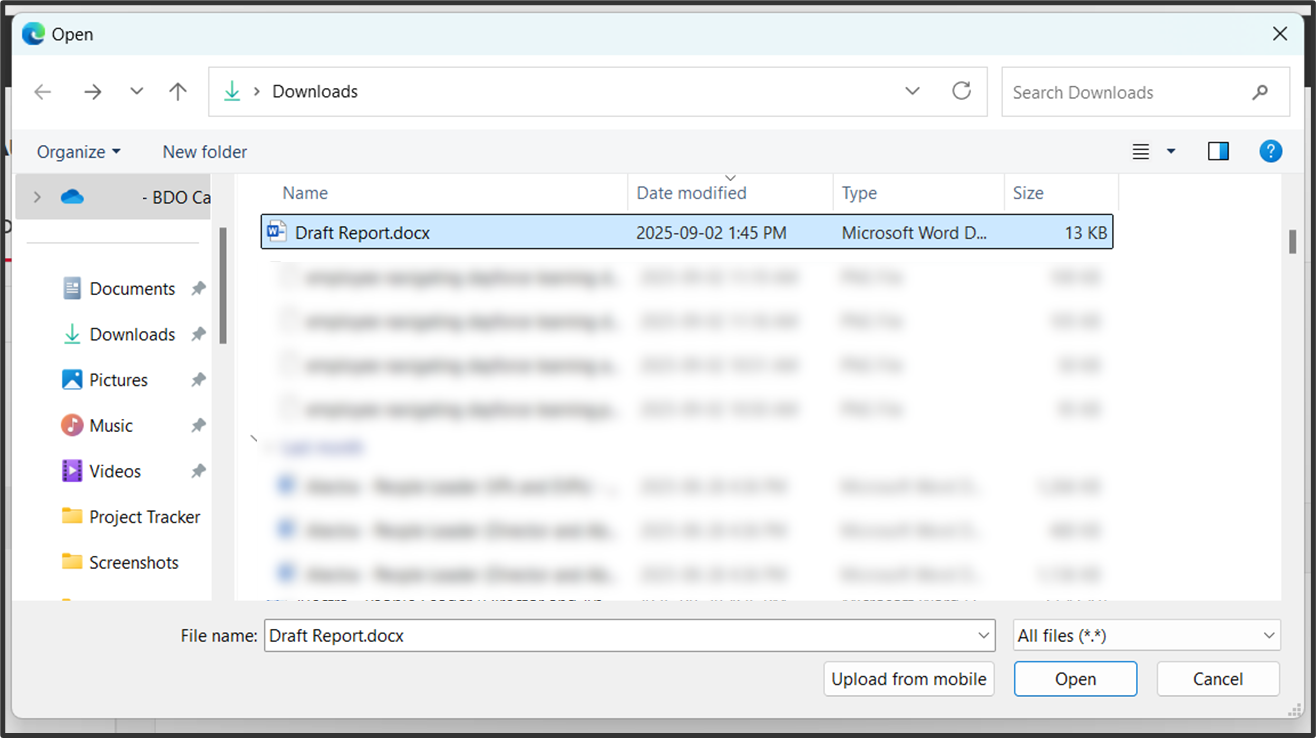
The file explorer window will pop-up. Select the file(s) you would like to upload.
Step 5:
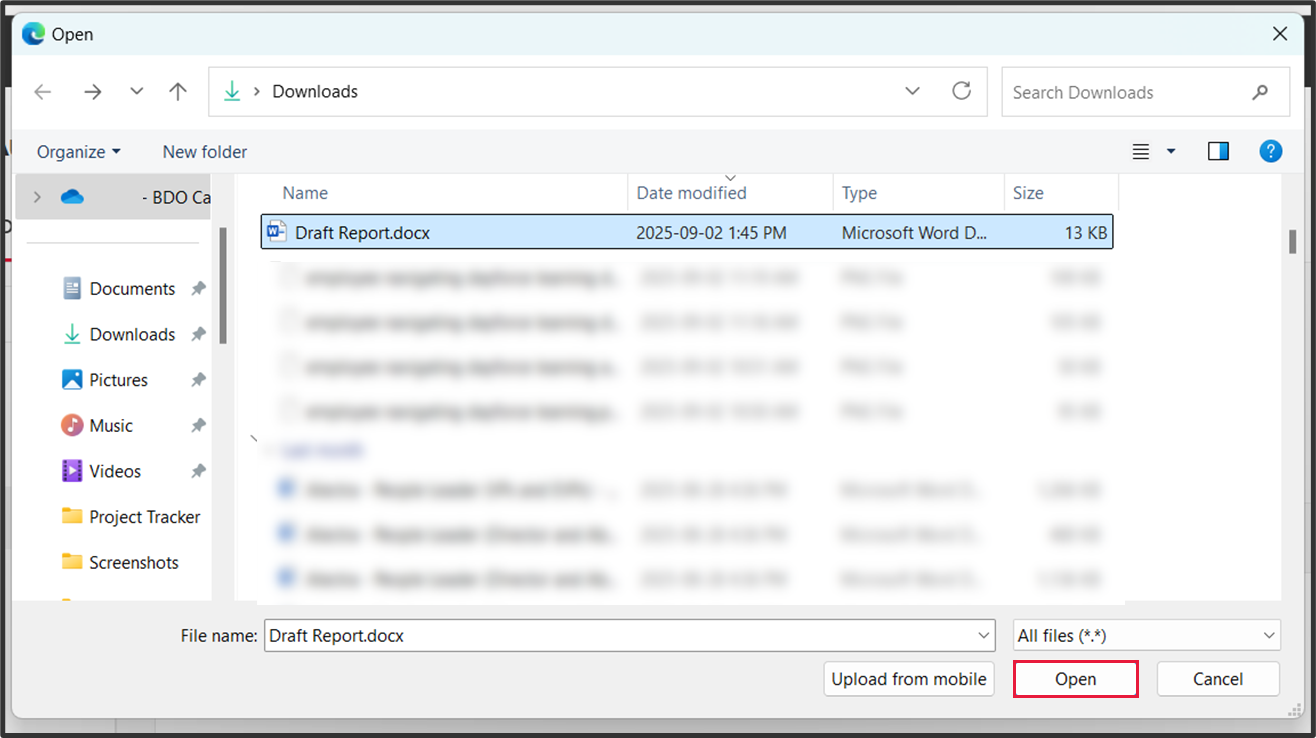
Click Open.
Send a File to the Recycle Bin
Step 1:

From the Dashboard, click on Documents.
Step 2:
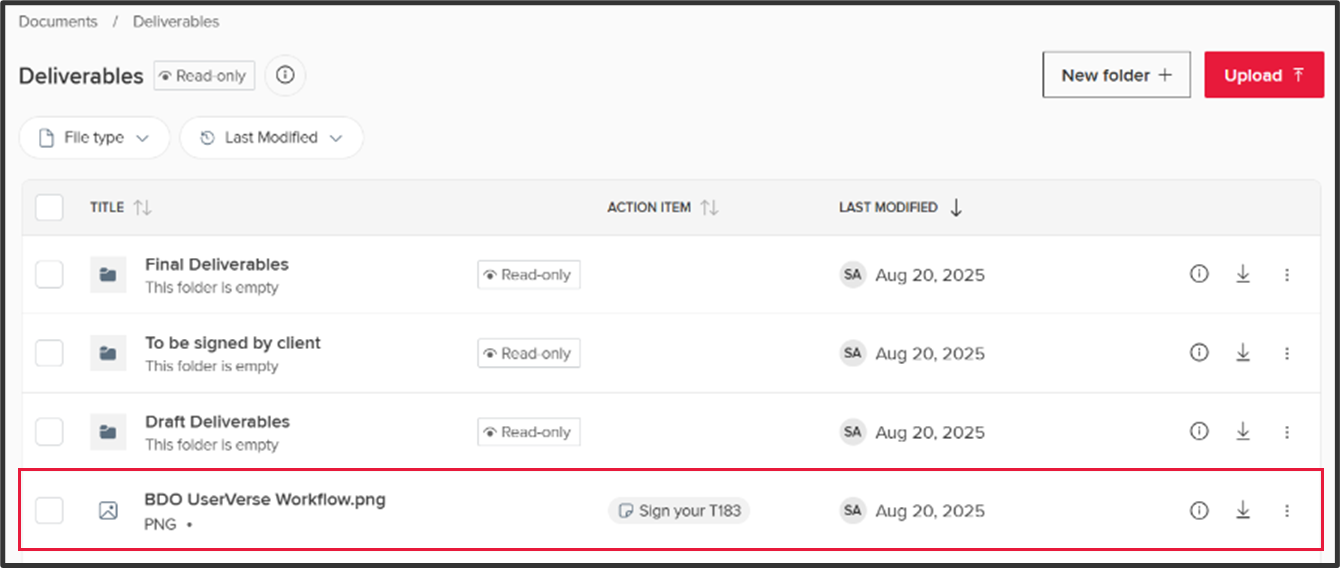
Navigate to the file you would like to send to the recycle bin.
Step 3:
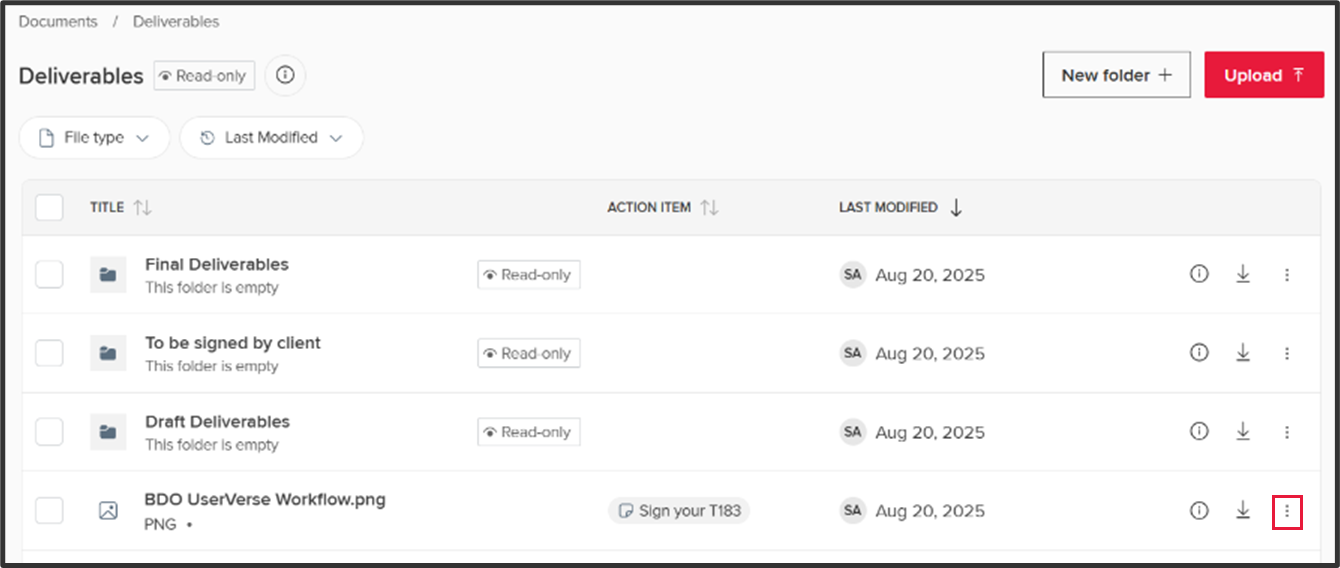
Click on the three dots to the right of the file.
Step 4:
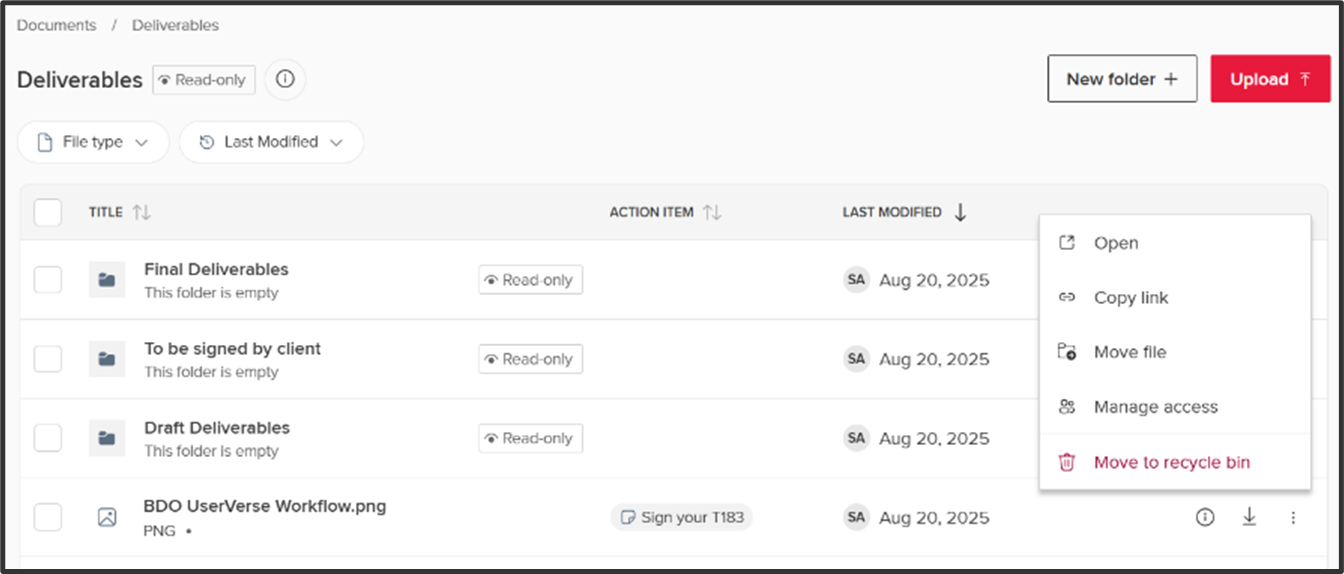
Select Move to recycle bin.
Step 5:
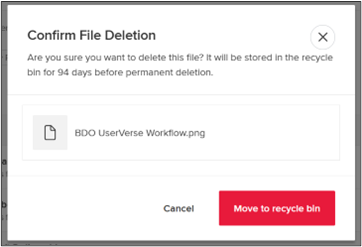
Step 5: You will be prompted to confirm your decision.
Click Move to recycle bin.
Note that files sent to the recycle bin are permanently deleted after 94 days.
Restore a File
Step 1:

From the Dashboard, click on Documents.
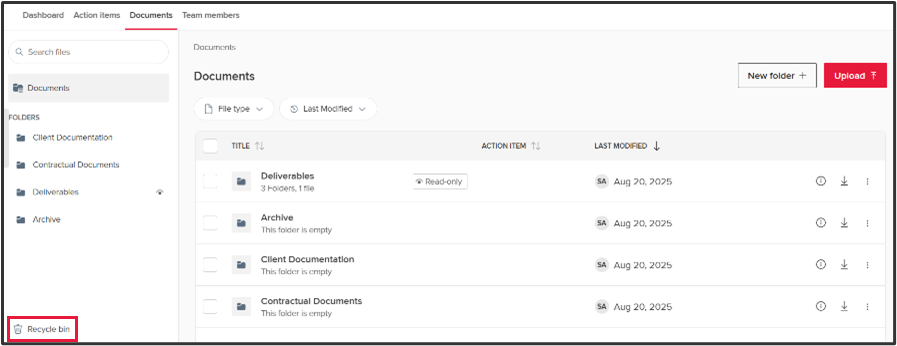
Step 2:
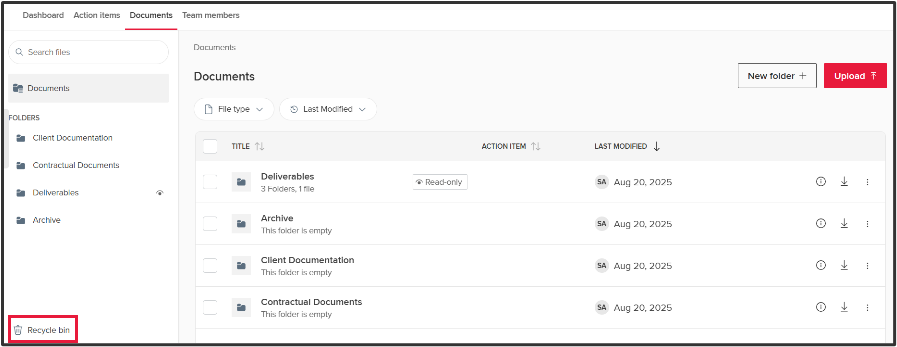
Navigate to the Recycle bin.
Step 3:
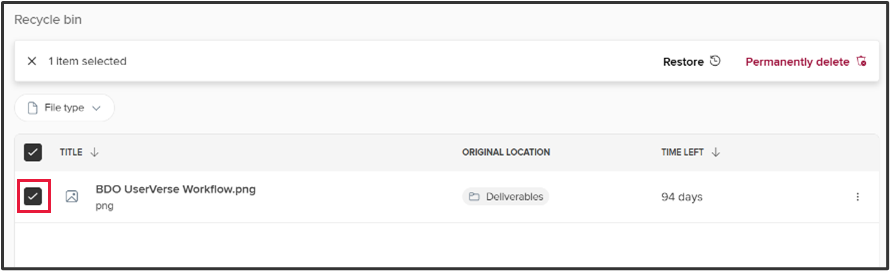
Select the file(s) you would like to restore.
Step 4:
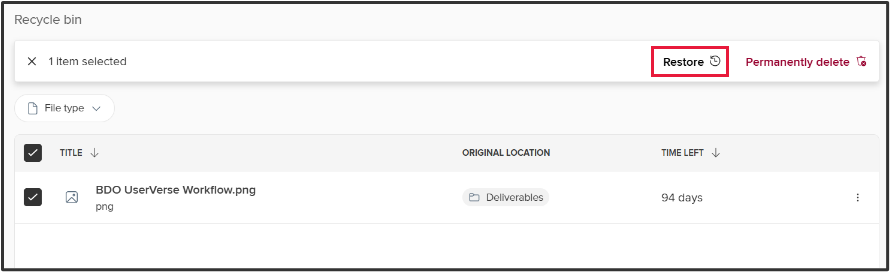
Click Restore.
Note that the file(s) will be automatically readded to their previous folder.
Delete a File Permanently
Step 1:
From the Dashboard, click on Documents.
Step 2:
Navigate to the Recycle bin.
Step 3:

Select the file(s) you would like to delete permanently.
Note that this action cannot be reversed.
Step 4:
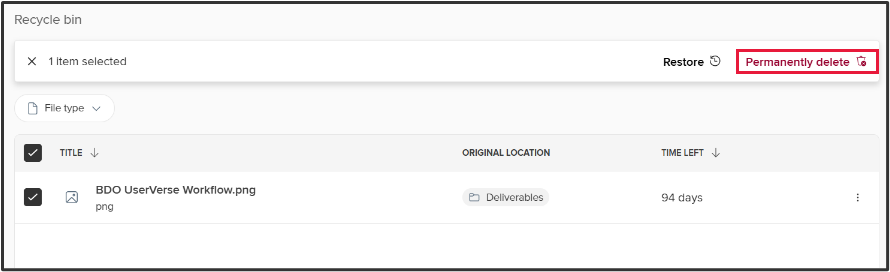
Click Permanently delete.
Step 5:
You will be prompted to confirm your decision.
Click Delete permanently.
Support
For engagement-related questions, contact your BDO Engagement Partner using the BDO Contacts button in the portal.
For general inquiries about the BDO Client Portal, email [email protected].
For technical assistance, complete this form or call 1 833-806-6633.
Our Client Support team is available Monday to Friday, from 8:30 AM to 7:00 PM EST.